

Key Takeaways
- Sit quietly for five minutes before measuring — activity and stress temporarily elevate readings.
- Cuff position and arm support are among the most common sources of measurement error at home.
- Taking two or three readings per session and averaging them improves reliability significantly.
- Consistent timing — same time of day, same arm — makes trend data more clinically meaningful.
- Always share your home log with a healthcare provider rather than acting on individual readings alone.
What you will need
Why Technique Matters More Than the Device
Home blood pressure monitors have become a routine tool in family health management, and for good reason — regular self-monitoring can help identify patterns that a single clinic visit might miss. But the monitor itself is only part of the equation. Research consistently shows that measurement technique accounts for a large share of the variability between readings, often more than device quality alone.
The American Heart Association and similar bodies have published standardized protocols for self-measurement precisely because small errors — a bent arm, a full bladder, a conversation mid-reading — can shift a result by 5 to 10 mmHg or more. That margin matters clinically. Understanding why home and clinic readings can differ puts those numbers in context, but getting your home technique right is the prerequisite for any meaningful comparison.
This guide walks through each step of a correct measurement session, from choosing your monitor to logging your results.
What you will need
What You Need Before You Start
Before your first reading, confirm your equipment is appropriate for home use. Upper-arm cuff monitors with validated accuracy are generally recommended over wrist devices for most adults. Cuff type and placement affect accuracy in ways that matter for everyday monitoring. Check that the cuff size fits your arm circumference — an undersized cuff inflates over a larger tissue volume and tends to read high, while an oversized cuff may read low.
Validated upper-arm blood pressure monitor
Measures systolic and diastolic pressure and pulse using an oscillometric sensor in the cuff.
Correctly sized cuff
Ensures the inflatable bladder covers the correct proportion of arm circumference for an accurate reading.
Armless chair with back support
Allows you to sit upright with feet flat and back supported, the recommended posture for measurement.
Reading log (notebook or app)
Records date, time, arm used, and all readings so patterns can be reviewed with your healthcare provider.
Watch or phone timer
Times the five-minute rest period before measurement and the one-minute gap between repeat readings.
How to Take a Reading: Step by Step
Follow these steps in order every time you measure. Consistency is what transforms individual readings into useful health data.
Avoid triggers for at least 30 minutes
Refrain from caffeine, tobacco, exercise, and a large meal for at least 30 minutes before measuring. Each of these can transiently elevate blood pressure and produce a reading that does not reflect your baseline.
Sit and rest for five minutes
Sit in a chair with full back support, feet flat on the floor, and legs uncrossed. Rest quietly — no talking, no phone — for a full five minutes. This allows your cardiovascular system to return to a resting state.
Position your arm correctly
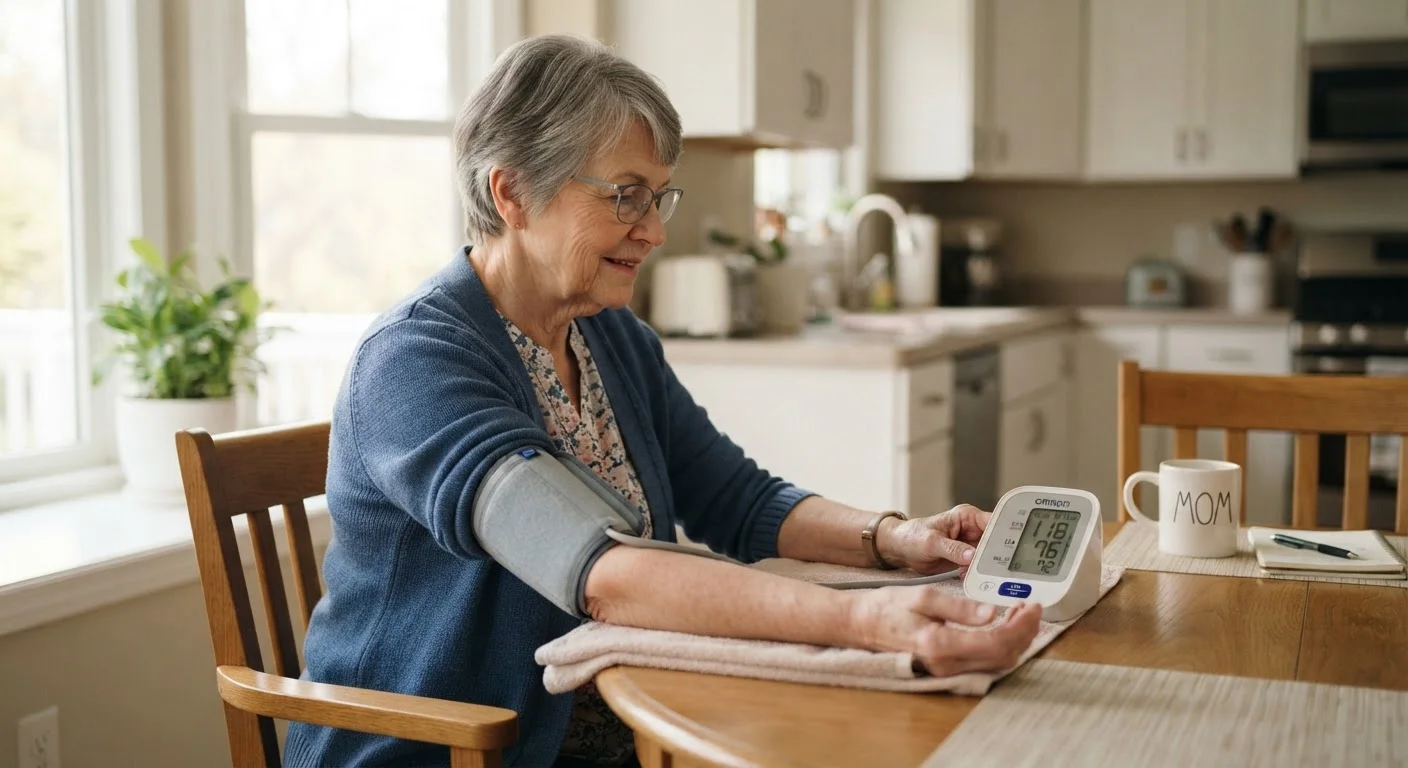
Rest your arm on a table or armrest so that the cuff sits at heart level — roughly level with the middle of your sternum. A dangling arm or one held above or below heart level introduces hydrostatic pressure error. Keep your palm facing upward and your arm relaxed.
Apply the cuff properly
Slide the cuff onto your bare upper arm — not over clothing or a rolled-up sleeve, which can compress the artery unevenly. Position the lower edge of the cuff approximately 2–3 cm (about one inch) above the crease of your elbow. The artery marker on the cuff, if present, should align with the brachial artery on the inside of your arm. The cuff should be snug but allow one or two fingers to slide underneath.
Take three readings, one minute apart
Press start and remain still and silent while the cuff inflates and deflates. Note the reading displayed. Wait one full minute, then repeat. Take a third reading in the same way. Record all three values — systolic (the top number), diastolic (the bottom number), and pulse — in your log.
Log and review your readings
Record the date, time, arm used, and all three readings immediately after each session. Note anything unusual — a stressful event, poor sleep, recent physical activity — that might explain an outlier result. Bring your complete log to your next healthcare appointment rather than relying on memory.
Once you have a reliable log, understanding what each number on the display means is a natural next step.
Making Sense of Your Results
A single reading — even a technically perfect one — is rarely the whole story. Blood pressure fluctuates naturally throughout the day in response to physical activity, stress, temperature, and sleep. This is why clinicians typically ask for a pattern rather than a point-in-time figure.
Aim to log readings in the morning before medication (if applicable) and food, and optionally again in the evening, for at least a week before any clinical appointment. Record all three readings from each session; most healthcare providers use the average of the second and third. Share your log — not just a verbal summary — with your provider. Many monitors allow data export; a simple notebook or phone note works equally well.
Build a Habit Around Consistency
The most clinically useful home blood pressure data comes from readings taken at the same time each day, on the same arm, using the same device. Even a validated monitor used inconsistently produces noisy data. A short daily routine — same chair, same time, same arm — turns your log into a reliable record your provider can act on.
If readings are consistently outside the normal range your provider has discussed with you, contact them promptly. Do not adjust medications or make treatment decisions based on home readings alone. For a broader look at the tools covered in this guide, the home monitoring devices hub provides context on how different devices complement each other in family health care.
This article is for general informational and educational purposes only and is not a substitute for professional medical advice, diagnosis, or treatment. Always consult a qualified healthcare provider with questions about your blood pressure or cardiovascular health.