

Key Takeaways
- Device condition, user technique, and environment all contribute to inaccurate home readings.
- Blood pressure, glucose, and SpO2 monitors each have device-specific pitfalls that a brief check can prevent.
- Logging multiple readings over time is more clinically useful than acting on any single number.
- Expired test strips, low batteries, and poor probe placement are among the most common error sources.
- Always share a log of home readings with your healthcare provider rather than making treatment decisions independently.
Summary
22 items · 10–20 minutes
Why Accuracy Checks Matter Before Every Reading
Home monitors put meaningful health data in families' hands — but only when used correctly. A blood pressure cuff worn too loosely, a glucose test strip past its expiry date, or a pulse oximeter clipped to a cold finger can each produce a number that looks credible on screen but doesn't reflect reality. Acting on a flawed reading — or dismissing a genuine signal because a previous reading seemed fine — carries real consequences.
This checklist applies to the three most widely used home monitors: upper-arm blood pressure monitors, finger-prick glucometers, and fingertip pulse oximeters (devices that measure blood oxygen saturation, or SpO2). Before you're new to any of these devices, the Family's First Guide to Home Health Monitoring Devices provides a helpful orientation. Run through the relevant groups below before logging any reading you intend to share with a clinician or use to guide a health decision.
Home Readings Supplement — They Don't Replace — Clinical Care
Home monitors are valuable tools for tracking trends between appointments, but no home device should be used to diagnose a condition or adjust prescribed treatment. If a reading falls outside the range your healthcare provider has discussed with you — or if you experience symptoms such as chest pain, severe headache, or difficulty breathing — seek medical attention promptly rather than repeating the test.
What You'll Need
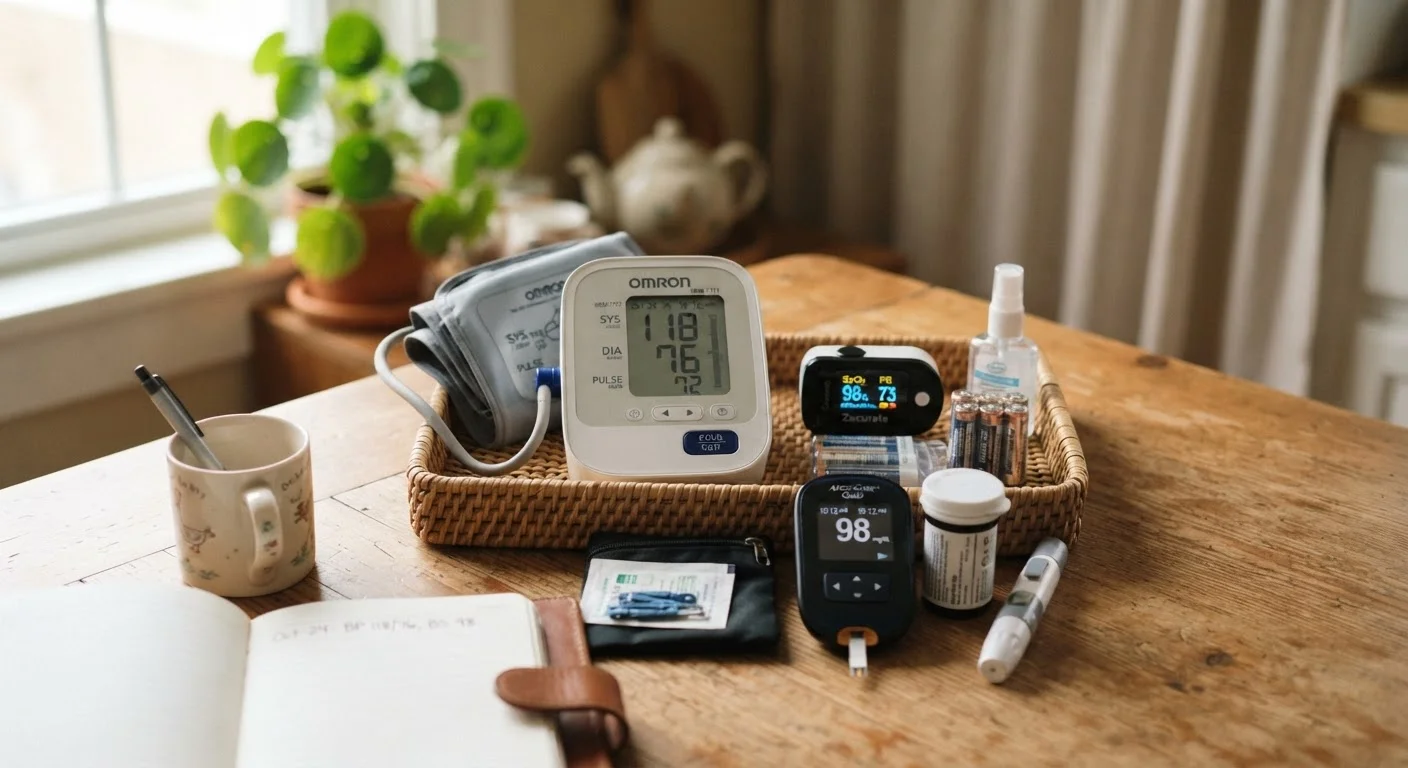
No special equipment is required beyond what you already own. Gather your monitor, its user manual, any consumables (test strips, lancets), and a notebook or health log app before you begin.
Upper-arm blood pressure monitor
Measures systolic and diastolic blood pressure and resting pulse rate.
Finger-prick glucometer and test strips
Measures blood glucose concentration from a small fingertip blood sample.
Fingertip pulse oximeter
Measures blood oxygen saturation (SpO2) and pulse rate via light sensors.
Control solution (glucometer)
A reference liquid used to verify the glucometer and test strips are producing accurate results.
Health log notebook or app
Records date, time, context, and readings for sharing with your healthcare provider.
The Accuracy Checklist
Work through each group that applies to your device type. Items marked must should be completed every single time. Should items are strongly recommended for consistent reliability. Nice-to-have items improve confidence in borderline readings.
Device Condition (All Monitors)
Blood Pressure Monitor Preparation
Glucometer and Test Strip Verification
Pulse Oximeter Technique
For a deeper look at blood pressure technique specifically, see Getting an Accurate Blood Pressure Reading at Home. For guidance on what glucose numbers actually mean once you have a reliable reading, Blood Glucose Monitors: Reading Your Results Without the Confusion is a useful next step. And if you use a pulse oximeter, Pulse Oximeter Limitations Worth Knowing Before You Rely on One explains how skin tone, nail polish, and poor circulation can affect your results.
When to Contact Your Provider Immediately
Certain readings warrant urgent medical contact regardless of device accuracy. For blood pressure, a reading consistently at or above 180/120 mmHg is considered a hypertensive crisis by established clinical guidelines and requires immediate evaluation. For SpO2, a reading below 90% that persists after repositioning is a signal to seek care without delay. Always follow the thresholds your own provider has set for your specific health situation.
This article is for informational purposes only and does not constitute medical advice. Always consult a qualified healthcare professional before making decisions based on home monitor readings, particularly if you have a chronic condition, are pregnant, or are monitoring a child.