

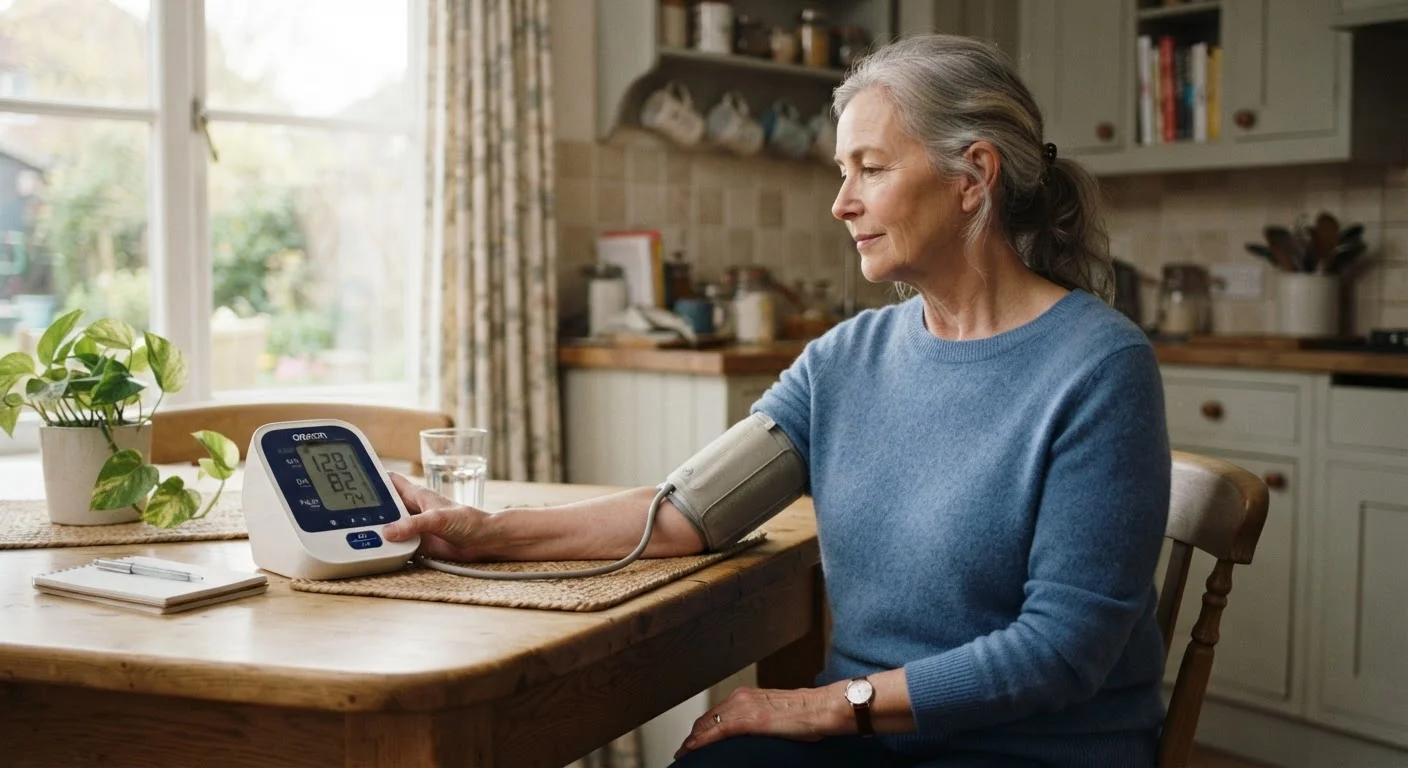
Key Takeaways
- Sit quietly for at least five minutes before measuring to let your blood pressure stabilize.
- Cuff size and placement on the arm directly affect whether a reading reflects your true blood pressure.
- Taking three consecutive readings and averaging them improves the reliability of home measurements.
- Caffeine, exercise, and talking during measurement are common sources of artificially elevated readings.
- Always share your home log with your healthcare provider rather than self-diagnosing based on readings.
What you will need
Why Technique Matters More Than the Device
Home blood pressure monitors have become a cornerstone of cardiovascular self-management, but the technology is only as reliable as the person operating it. Research consistently shows that user technique — posture, timing, cuff fit, and environmental conditions — accounts for a larger share of measurement error than device hardware in typical home settings. A high-quality monitor used incorrectly can produce readings that are 10–20 mmHg off from your true value, which is a clinically significant margin.
Understanding what blood pressure actually measures helps put technique in context. The systolic number (the higher figure) represents the pressure in your arteries when your heart contracts; the diastolic number reflects pressure when the heart rests between beats. Both values fluctuate continuously in response to activity, emotion, temperature, and dozens of other variables. Home monitoring captures a snapshot — technique determines whether that snapshot is an accurate one.
For a broader look at how cuff type and placement interact with accuracy, see our guide to upper-arm vs. wrist cuffs. If you are curious about why your readings at home may not match those taken at a clinic, this article on the gap between home and clinic measurements explains the key factors, including white-coat and masked hypertension.
What you will need
Upper-arm blood pressure monitor
Inflates a cuff around the upper arm to measure systolic and diastolic pressure oscillometrically.
Properly sized cuff
Ensures the bladder inside the cuff encircles the correct proportion of your arm, preventing over- or under-inflation errors.
Straight-backed chair with armrest or flat table
Supports the arm at heart level throughout the measurement to eliminate positional error.
Blood pressure log or tracking app
Records readings with timestamps so your provider can identify patterns over time.
Timer or clock
Ensures the required five-minute rest period and one-minute intervals between repeat readings are observed.
Common Pitfalls and How to Avoid Them
Even experienced home monitors fall into repeatable errors. The most frequent are taking a reading immediately after physical activity, measuring over clothing, allowing the arm to hang below heart level, and failing to rest beforehand. Each of these can push readings upward by a meaningful amount — sometimes enough to create false concern or, conversely, mask a genuine elevation on a day when the person is unusually relaxed.
Talking during measurement is another underappreciated source of error. Studies in clinical measurement literature have demonstrated that speaking while the cuff is inflated raises systolic pressure by an average of 6–7 mmHg. Similarly, crossing the legs during measurement has been shown to add approximately 2–8 mmHg to systolic readings. These are not theoretical concerns — they represent the kind of reproducible, avoidable errors that distort long-term monitoring logs.
Validate Your Device Periodically
Home monitors can drift out of calibration over time. Many manufacturers and pharmacy clinics offer comparison checks where your device is measured alongside a calibrated reference. Consider having your monitor checked annually or whenever readings seem inconsistent with how you feel. Keeping the device in good repair is as important as using the correct technique.
Room temperature also plays a role. Cold environments cause peripheral vasoconstriction — narrowing of surface blood vessels — which can artificially elevate readings. Measure in a comfortably warm room and allow a few minutes for your body to acclimate if you have just come in from the cold.
Do Not Self-Diagnose Based on Home Readings
Home readings are a monitoring tool, not a diagnostic instrument. A single elevated reading does not confirm hypertension, and a normal reading does not rule it out. Always present your logged data to a qualified healthcare professional who can interpret it alongside your full clinical picture. Never start, stop, or adjust blood pressure medications based on home readings alone.
After completing your sessions, use a log to track patterns rather than fixating on individual readings. The home monitor accuracy checklist provides a useful verification routine before each session. For a plain-language explanation of what the numbers on your display actually mean, see Blood Pressure Monitors at Home: What the Numbers Actually Mean.
Emergency Readings Require Immediate Action
A systolic reading of 180 mmHg or above and/or a diastolic reading of 120 mmHg or above is classified as a hypertensive crisis. If you record numbers in this range — particularly alongside symptoms such as chest pain, shortness of breath, severe headache, or visual disturbances — call emergency services immediately. Do not wait to retest or consult a non-emergency line.
This article is for general informational and educational purposes only and does not constitute medical advice. Always consult a qualified healthcare professional for guidance specific to your health situation, including interpretation of blood pressure readings.