

Key Takeaways
- Code or calibrate your glucometer each time you open a new vial of test strips.
- Always wash and dry hands thoroughly before pricking your finger for a sample.
- Check strip expiration dates and store them in a cool, dry place away from humidity.
- Run a control solution test to verify your meter is reading accurately before relying on results.
- Consult your healthcare provider to interpret readings and set target ranges for your situation.
What you will need
Why Setup Steps Matter for Accurate Results
A home glucose monitor — also called a glucometer — works by measuring how much glucose (blood sugar) is present in a tiny blood sample using an electrochemical reaction in the test strip. The meter converts that reaction into a number displayed in milligrams per deciliter (mg/dL). Small errors at any point in the setup process can shift that number meaningfully, affecting how a person or their care team interprets the result.
If you or a family member is new to home monitoring, the family guide to home health monitoring devices provides helpful context on what these devices do and when they're typically used. For families weighing whether a traditional finger-prick glucometer is the right tool, the comparison in Continuous Glucose Monitors vs. Finger-Prick Glucometers covers the key trade-offs.
What you will need
This article is general educational information about how to set up and use a glucometer correctly. It is not a substitute for the instructions provided with your specific device or guidance from your healthcare provider.
Handling Test Strips Safely
Test strips are chemically active and sensitive to environmental conditions. Store them in their original sealed vial with the desiccant cap tightly closed between uses. Humidity, heat, and direct sunlight degrade the reactive enzymes in the strips, which can produce falsely low or falsely high readings. Do not refrigerate test strips unless the manufacturer explicitly instructs it.
Never Use Expired Test Strips
The reactive chemistry in test strips degrades after the expiration date printed on the vial. Using expired strips can produce readings that are inaccurate enough to inform a wrong decision about food, activity, or medication. Discard the entire vial and replace it with a current batch before testing.
For families managing glucose monitoring across different age groups, the article on glucose monitoring in children and older adults outlines important considerations worth discussing with a healthcare provider before starting routine monitoring.
Steps to Set Up and Use Your Glucometer
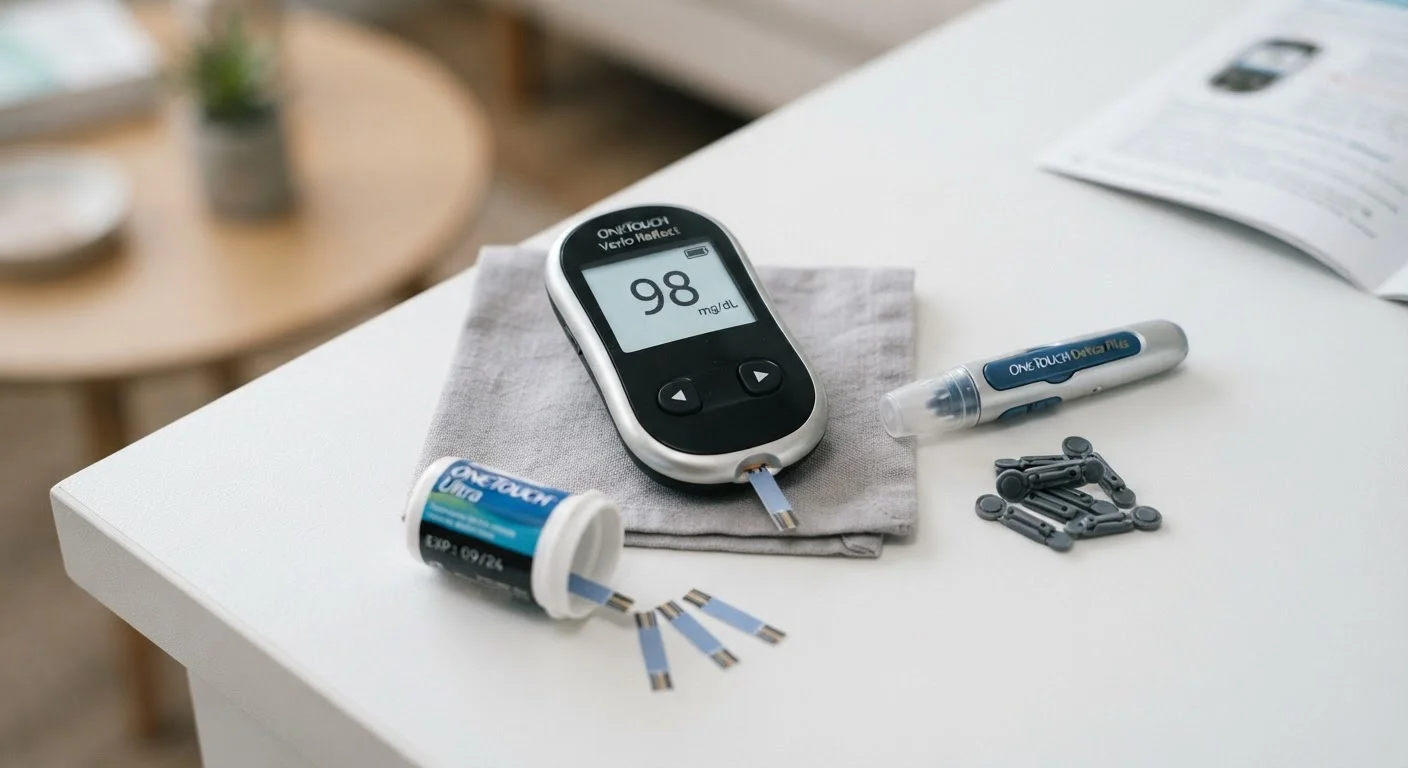
Glucometer (Blood Glucose Meter)
Analyzes the blood sample and displays a numeric glucose reading in mg/dL.
Lancing Device and Lancets
Creates a small, controlled puncture on the fingertip to obtain a blood droplet.
Test Strips
Absorbs the blood sample and reacts chemically so the meter can calculate glucose concentration.
Control Solution
A liquid with a known glucose concentration used to verify the meter and strips are functioning correctly.
Sharps Container
Safely stores used lancets and prevents accidental needle-stick injuries.
Logbook or Glucose Tracking App
Records readings with timestamps so your care team can identify trends over time.
Inspect and assemble your kit
Unbox every component and verify you have the meter, lancing device, lancets, test strips, and control solution. Check that all items are within their expiration dates — expired strips can produce inaccurate readings. Insert fresh batteries into the meter if required, following the compartment diagram in your user manual.
Code or calibrate the meter for your strip batch
Many glucometers require coding — entering a numeric code printed on each new vial of test strips — so the meter's algorithm is calibrated for that specific strip lot. Some newer meters use auto-coding chips built into the strip itself. Consult your user manual to determine which method applies. Mismatched coding is one of the most common sources of inaccurate readings.
Run a control solution test
Before testing blood for the first time — and whenever you open a new strip vial or suspect a problem — run a control solution test. Apply a small drop of the provided control solution to a test strip exactly as you would apply blood. The reading should fall within the acceptable range printed on the strip vial label. A result outside that range signals a meter or strip issue that should be investigated before using the device on a person.
Prepare the lancing device
Twist off the lancing device cap and insert a fresh lancet until it clicks into place. Replace the cap and use the depth-adjustment dial to select the appropriate penetration depth — start shallow and increase only if you cannot obtain an adequate droplet. A depth that is too deep causes unnecessary pain and does not improve sample quality.
Wash, dry, and prepare your finger
Wash both hands thoroughly with soap and warm water for at least 20 seconds, then dry completely. Residual moisture or food residue on the fingertip can dilute the blood sample or introduce contaminants that skew results. Avoid using alcohol wipes on the fingertip before lancing unless your healthcare provider has specifically instructed it — alcohol can interfere with some test strip chemistries and dries out skin over time.
Insert the test strip and obtain a blood sample
Insert a test strip into the meter's port; most meters power on automatically. Lance the side of a fingertip — the sides have fewer nerve endings than the pad — and apply gentle pressure from the base of the finger toward the tip to encourage a small, round droplet. Touch the droplet (not the finger) to the strip's sample channel and hold steady until the meter signals the sample is sufficient.
Read, record, and dispose safely
The meter will display a result in mg/dL within a few seconds. Record the reading along with the time, date, and any relevant context (e.g., before or after a meal, after exercise) in your logbook or tracking app. Immediately place the used lancet in a sharps container. Remove the test strip from the meter and dispose of it according to your local medical waste guidelines.
Once you have established a consistent technique, refer to the home monitor accuracy checklist before logging readings, and review the guide to keeping home monitors reliable to maintain strip and device quality over the long term.
This article is for general informational purposes only and does not constitute medical advice. Always follow the instructions included with your specific glucometer and consult a qualified healthcare professional regarding your glucose monitoring regimen, target ranges, and how to respond to any reading.