

Key Takeaways
- Device condition, calibration, and storage directly affect the accuracy of any home reading.
- User technique — posture, timing, sample handling — is as important as the device itself.
- Environmental factors like temperature, humidity, and interference can skew results.
- No at-home reading should replace professional clinical evaluation for diagnosis.
- Consistent logging and sharing results with your care team maximises the value of home monitoring.
Summary
22 items · 15–30 minutes
Why a Checklist Approach Matters for Home Diagnostics
At-home diagnostic devices — from blood glucose meters to blood pressure cuffs and pulse oximeters — give families real-time health data between clinical visits. But a reading is only as reliable as the process behind it. Errors in technique, storage, or calibration can produce results that are misleading enough to prompt unnecessary concern or, more dangerously, false reassurance.
Unfamiliar with terms like calibration or reference range? Our family reference glossary explains the key terms you'll encounter on home health devices in plain language.
This checklist is organised into four phases: device readiness, environment and preparation, measurement technique, and result interpretation. Work through each group before logging any reading you plan to share with a healthcare provider.
Home Readings Are Not Clinical Diagnoses
At-home diagnostic devices are tools for monitoring and informing conversations with your healthcare provider — they are not designed to diagnose medical conditions. A result outside the reference range shown in your manual is a reason to contact a qualified healthcare professional, not to self-treat. Always seek prompt clinical assessment if you experience symptoms, regardless of what a home reading shows.
The Safety Checklist: Four Phases of Accurate Home Testing
Use the checklist groups below each time you take a reading — especially for devices used to manage ongoing conditions such as hypertension or diabetes. For guidance on age-specific considerations, see our article on at-home diagnostic tools across the lifespan.
Device Readiness
Environment and Preparation
Measurement Technique
Recording and Follow-Up
For a focused quick-reference version covering blood pressure, glucose, and SpO2 specifically, the home monitor accuracy checklist is a useful companion resource.
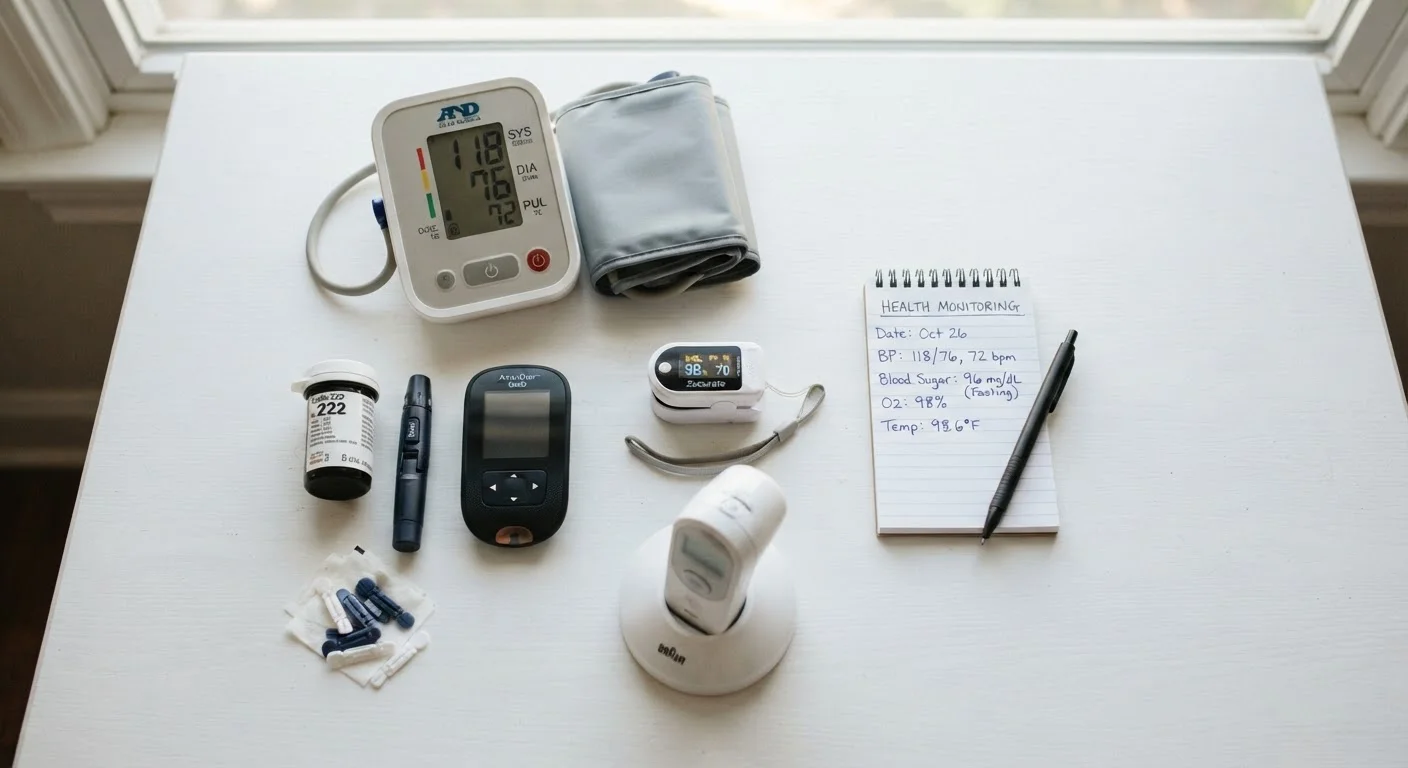
Tools You'll Need
Most at-home diagnostic sessions require only the device itself and basic supplies. Having everything assembled before you begin reduces interruptions that can affect timing-sensitive tests.
At-home diagnostic device
The primary instrument for taking your health measurement (e.g., glucometer, blood pressure monitor, pulse oximeter).
Device-specific consumables
Test strips, lancets, sensor patches, or reagent cassettes matched to your device model and within their expiry date.
Health log or tracking app
Records date, time, and result of each reading so trends can be reviewed with your healthcare provider.
Device user manual
Provides the reference range, calibration schedule, error code definitions, and correct technique specific to your device.
Fresh batteries or charger
Ensures stable power supply, which is required for consistent sensor performance.
Sharps disposal container
Required for safe disposal of used lancets when blood-based testing is involved.
Acting on Your Results Responsibly
A single reading rarely tells the complete story. Trends over multiple readings — taken consistently and recorded accurately — are far more informative. Our article on building a home health monitoring routine covers how to time readings, record results, and share data effectively with a GP or specialist.
If a result is unexpected, repeat the measurement once using correct technique before drawing conclusions. If a result is significantly outside the normal reference range provided in your device manual, or if you feel unwell, contact a qualified healthcare professional promptly. Do not attempt to self-diagnose or adjust any treatment based on home readings alone.
Do Not Rely on a Single Reading Alone
One data point can be affected by dozens of transient factors — stress, posture, recent activity, or a consumable near its expiry date. Patterns across multiple correctly obtained readings carry far more clinical weight. If any result causes concern, repeat the measurement and contact your healthcare provider rather than making independent care decisions based on a single home test.
For families managing devices over months or years, consistent maintenance is critical. Practical habits that preserve accuracy — including battery care, strip expiry checks, and storage guidelines — are covered in detail in keeping your home monitors reliable over time.
This article provides general health information for educational purposes only and is not a substitute for professional medical advice, diagnosis, or treatment. Always consult a qualified healthcare provider regarding any health concerns or before making decisions based on home diagnostic results.